Here are the steps to get a visa application done for DjangoCon Africa in Tanzania 🇹🇿. Give it a go!

Credits: By Halidtz - Own work, CC BY-SA 4.0
DjangoCon Africa 2025 represents an excellent opportunity to meet new faces and get new ideas in the Django world. It’s the second edition of the conference after a beautiful start in 2023, and I thought it might encourage more people to attend from overseas if I spent time documenting some of the steps. So here we are – how to get a visa!
When to apply
For me, the online process from “submit” to “visa granted” took 11 days, which matches what the official guidelines say. It’s also possible to apply for a visa on the spot once you land there. While that‘s not the recommended option, it’s well explained online. But the benefits of applying online ahead of time are to be more confident in the results, and skip the queue at the airport (those are lengthy forms to fill).
How to apply
See the official instructions from DjangoCon Africa organizers: Visa information.
Important points to note:
- You will need a plane ticket / travel booking. Either get a reservation without paying, get a refundable ticket, or chance it!
- The steps all work well, except for the last payment processing, which hasn’t been reliable.
The steps
There are a lot of steps but nothing particularly surprising for a visa application.
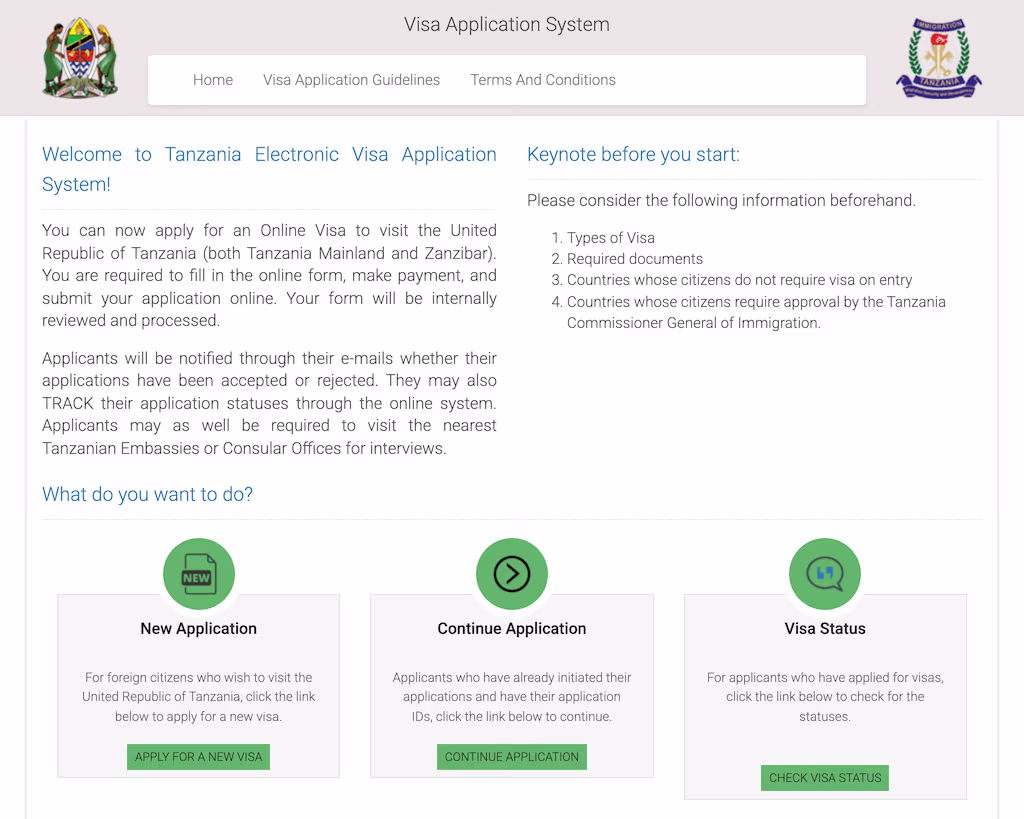
Homepage & navigation
This is where we start, visa.immigration.go.tz
Start a new application
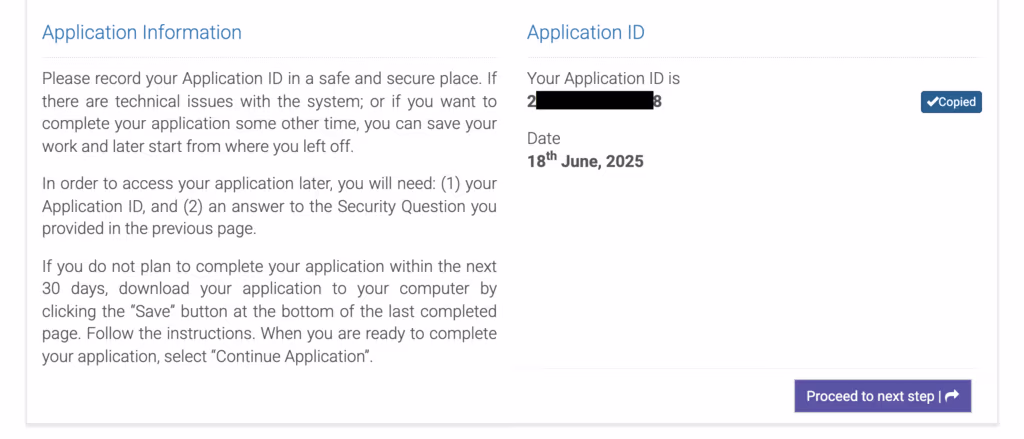
Once you hit Start New Application, the system generates an Application ID so you can interrupt and resume your application at any point.
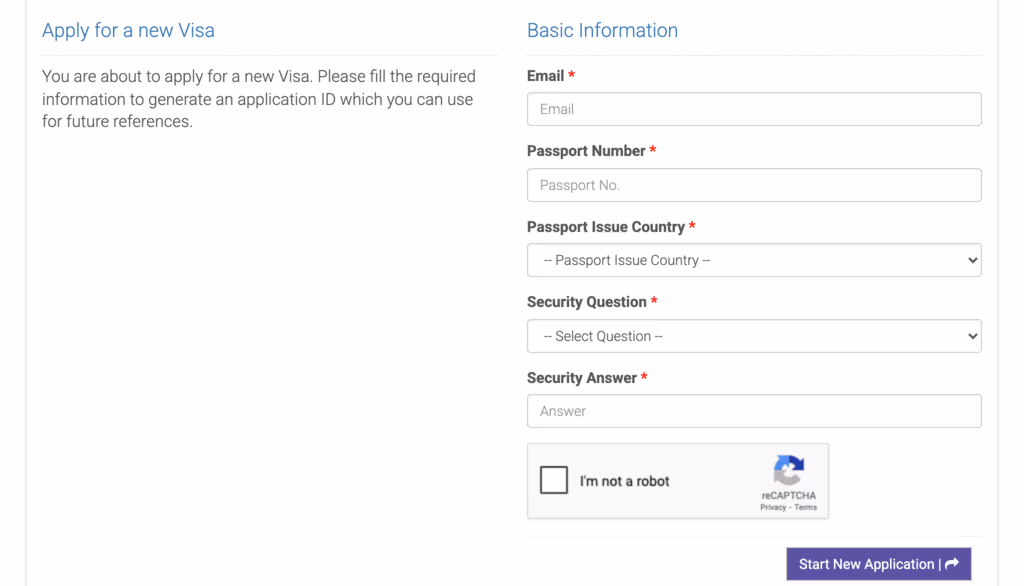
Record this ID somewhere safe, it’s also useful so you can check on progress after submission.
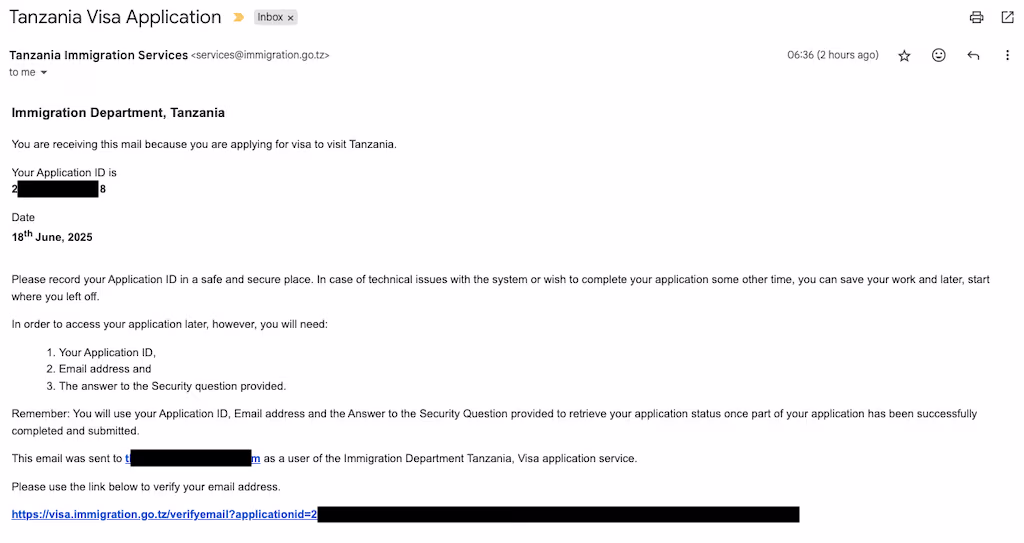
You’ll also receive an email from services@immigration.go.tz containing the application ID.
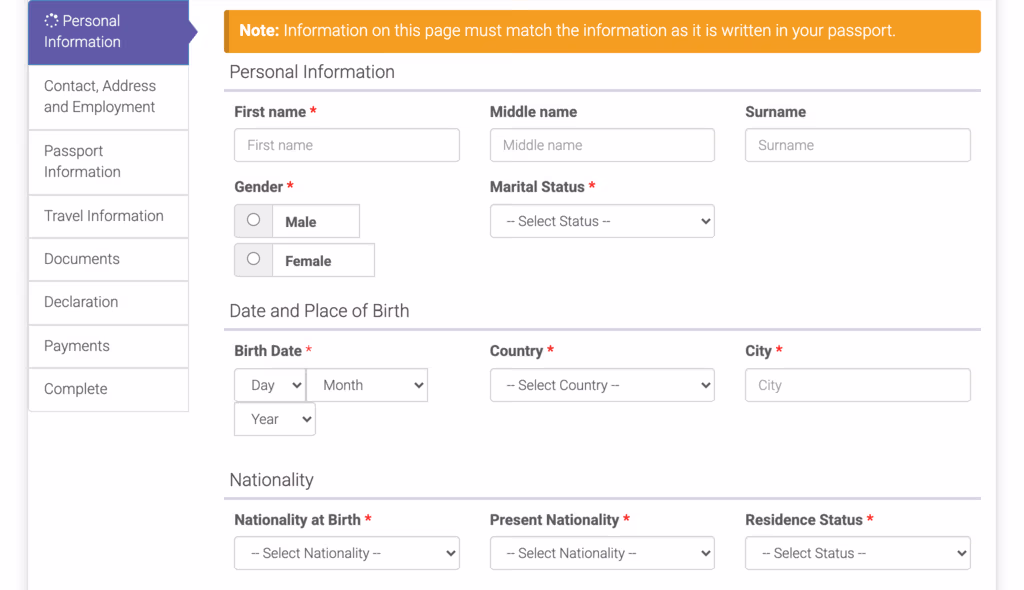
Enter personal information
First actual form step! On the Personal Information page, not many surprises there.
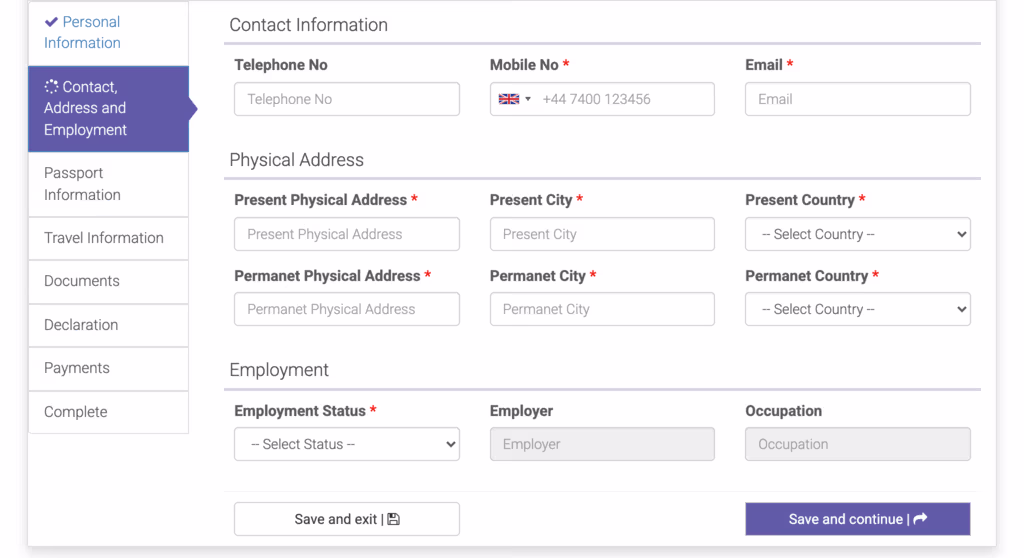
Contact, address & employment
Here the “employment” fields will changed a bit depending on your status.
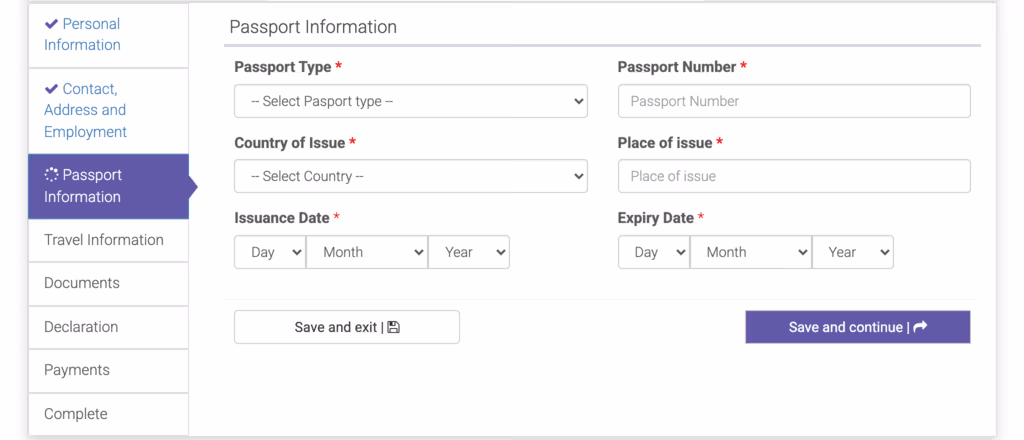
Passport information
No surprises there either.
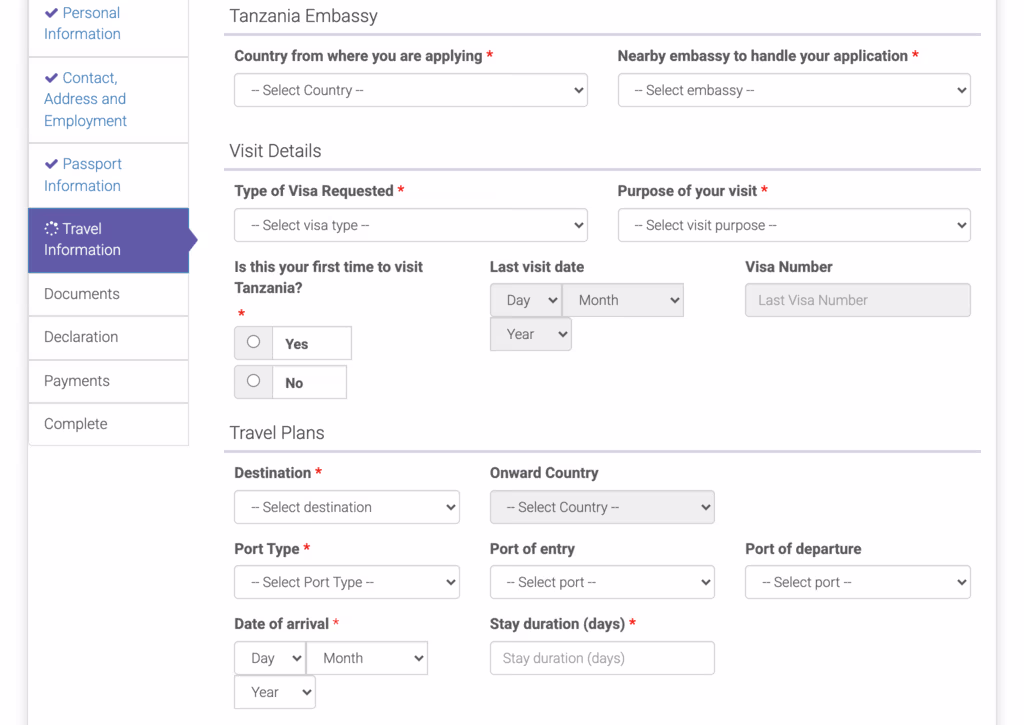
Travel information
Here’s where it gets detailed:
- Type of visa depends on your personal circumstances. In particular different countries are expected to use different types. See the official guidelines which are clear about that.
- Purpose of visit - I used “tourism” but there is also a “meetings and workshops” that seems somewhat appropriate for a conference.
The subsequent fields likely reflect my selection on those two.
Travel plans
At this stage you might not need travel bookings to fill this in, but this will be asked later.
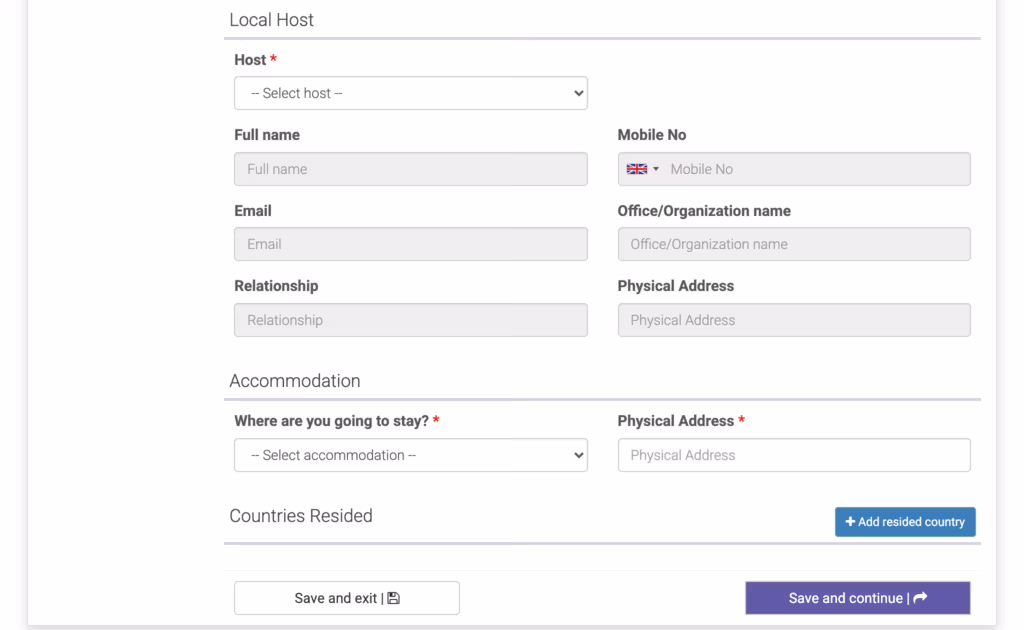
Local host & accommodation
It’s not super clear to me how essential the “Local host” is, but for DjangoCon Africa we chose to recommend people use the conference organizers as their local host. See our DjangoCon Africa 2025 visa information page for more details.
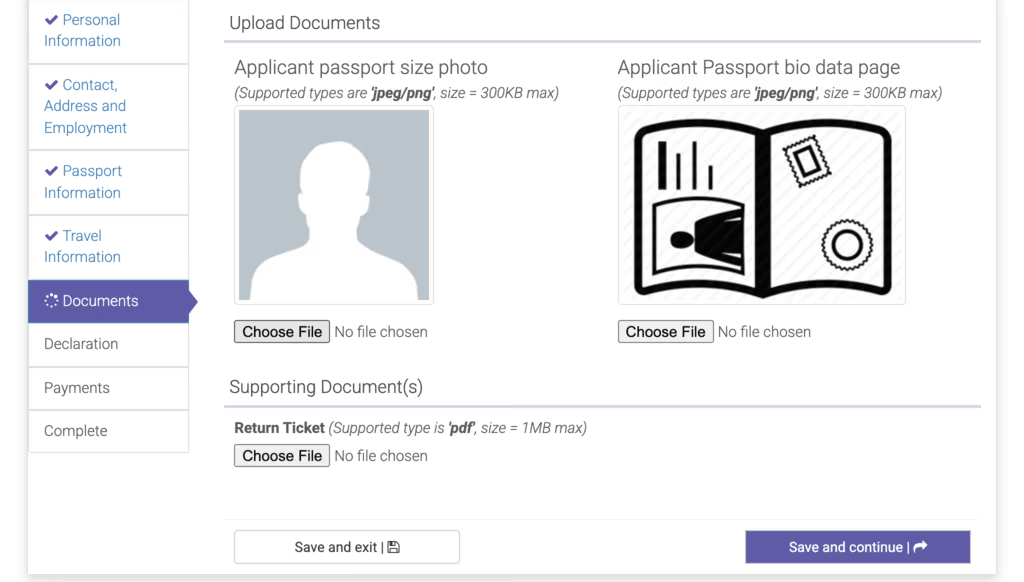
Upload supporting documents
Finally, upload digital copies of:
- Passport-style photo (JPEG/PNG, ≤ 300 KB)
- Passport bio-data page (JPEG/PNG, ≤ 300 KB)
- Return ticket (PDF, ≤ 1 MB)
Note .jpg files aren’t supported, only .jpeg! (and -60.avif).
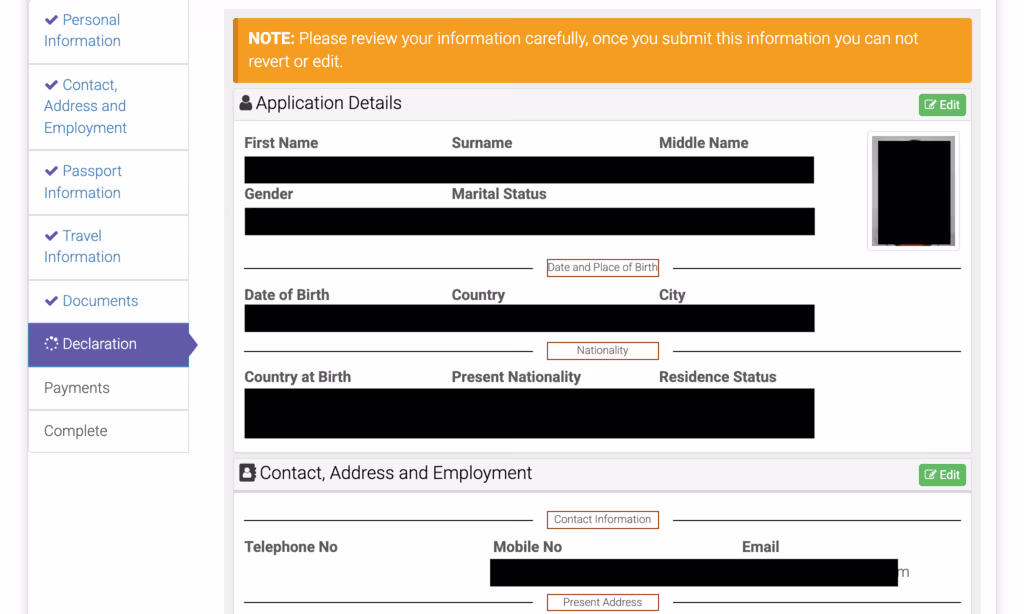
Declaration
Before payment, you’ll see a summary of all your inputs on the Declaration page.
Payment options
Once you’ve declared, you’ll arrive at the Payments page. There are three methods, only one of which worked for me:
- ❌ Bank deposit: none of the payment details were visible on the page, so can’t do this.
- ❌ Visa or Mastercard: the payment form never loaded, so I don’t think this works either (“500, An error occurred while processing your request.”)
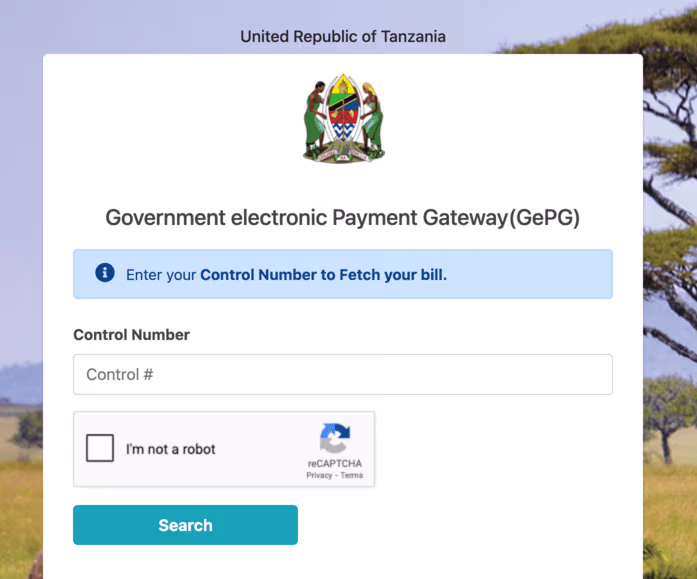
- ✅ GePG ePay: it was tricky but did work!
That last payment option is in the bottom left corner, hard to spot. Grab your Control Number, click the link and move on.

GePG gateway payment
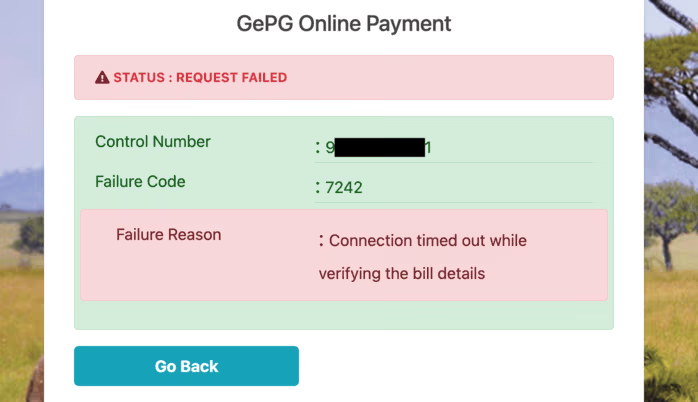
This is what worked for me but it was very unreliable and took about 45 minutes of trying many times.
GePG timeout error
In those cases I would go back and retry.
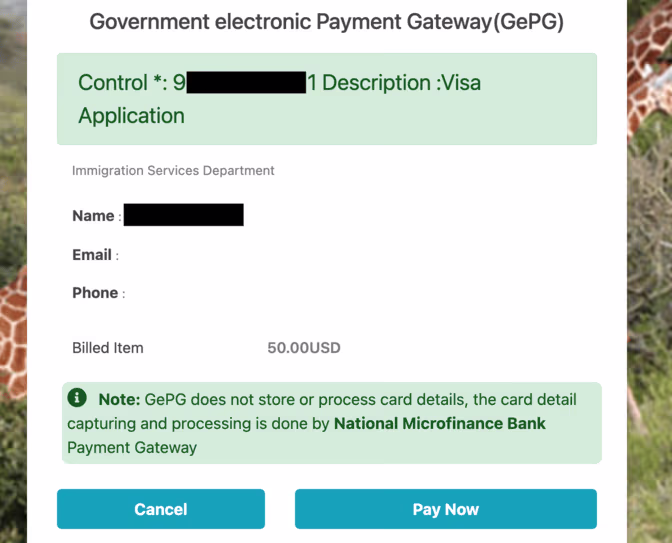
GePG bill prompt
I arrived on that step twice! “Pay Now” didn’t work the first time, but did work the second time.
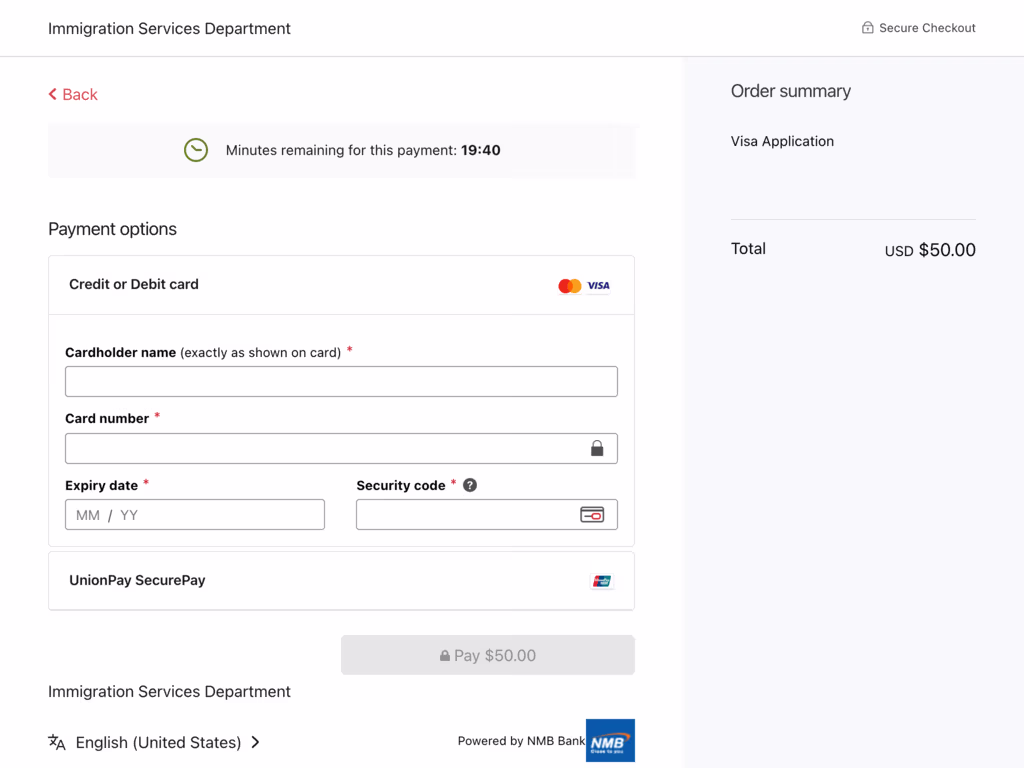
NMB bank card checkout
This worked fine the one and only time I got to it, except I never saw the next “success” page, only the proxy error below.
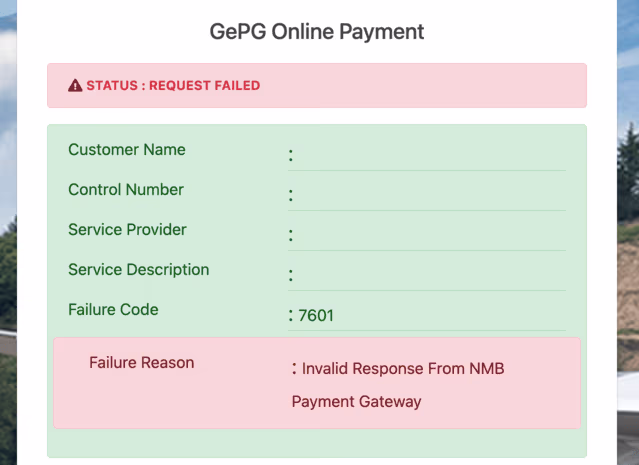
Final proxy error
Even after a successful payment, this is what I saw. However I could already go back to my application and see that the payment was confirmed.

Upon refreshing I got to this different (but also irrelevant) error page:
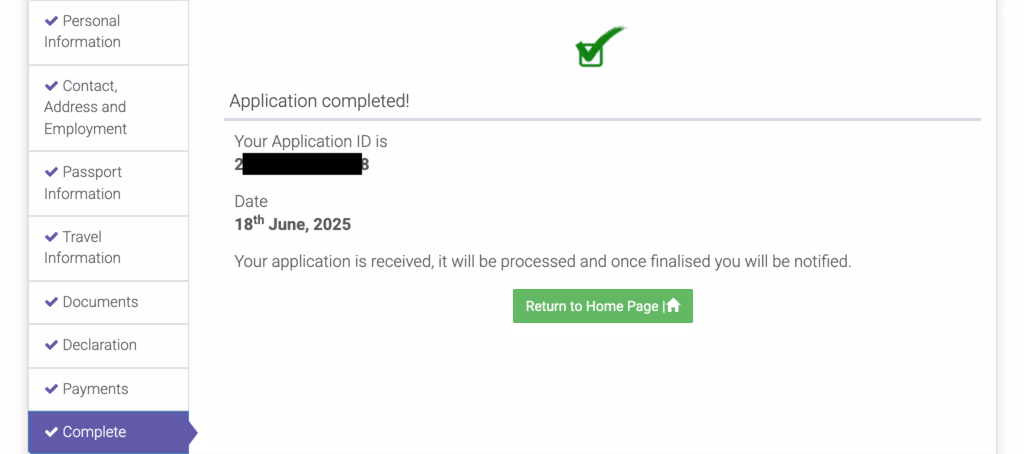
Application completed
Once payment is confirmed, the system shows an Application completed! page with your Application ID and submission date.
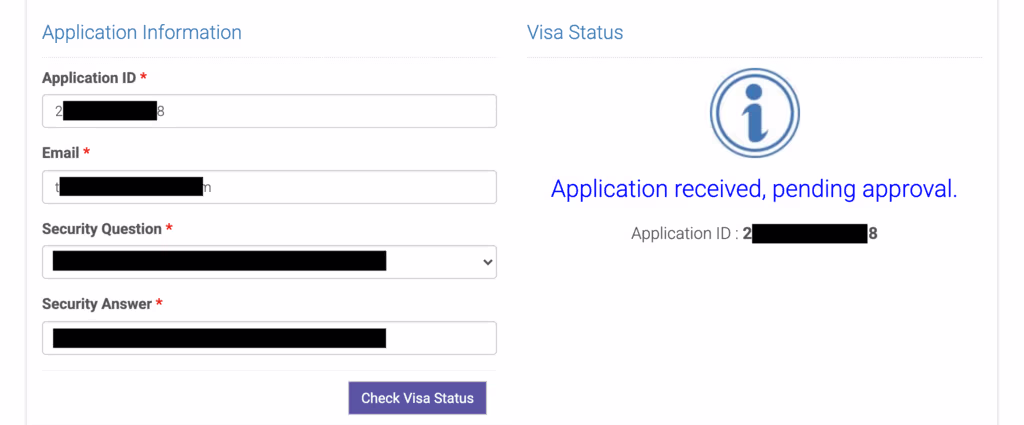
Checking visa status
To track your application later, go to Check Visa Status and enter the details you’d started your application with: Application ID, email address, security question and answer.

Status: pending approval
This is what you’ll see once you submit your application.
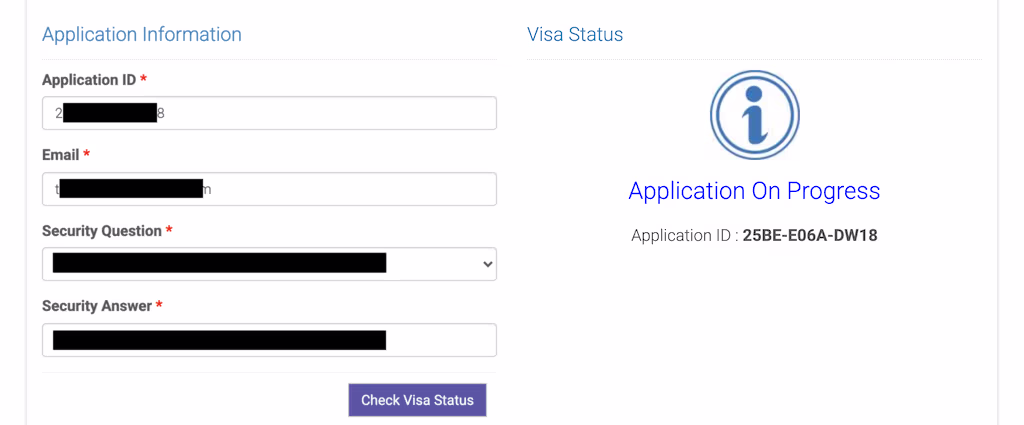
Status: on progress
After a few days it switched to this different status.
Approved
After 11 days, I received an email confirmation the visa was approved! With instructions on documents to print and bring to Tanzania 🎉
So, not the most straightforward, but definitely not too hard either! Get your visa sorted and join us in Tanzania for DjangoCon Africa 2025! 🇹🇿